


 |
| I first Start with a napkin sketch. This is 1 of 12. It is important that I get familiar with a new concept before I get to the details. Doing a series of these at the beginning does the trick. They don't have to be pretty. I always do some for new concepts. |
 |
| Next, I fix the major Proportional issues. I keep it loose and general at this stage. |
 |
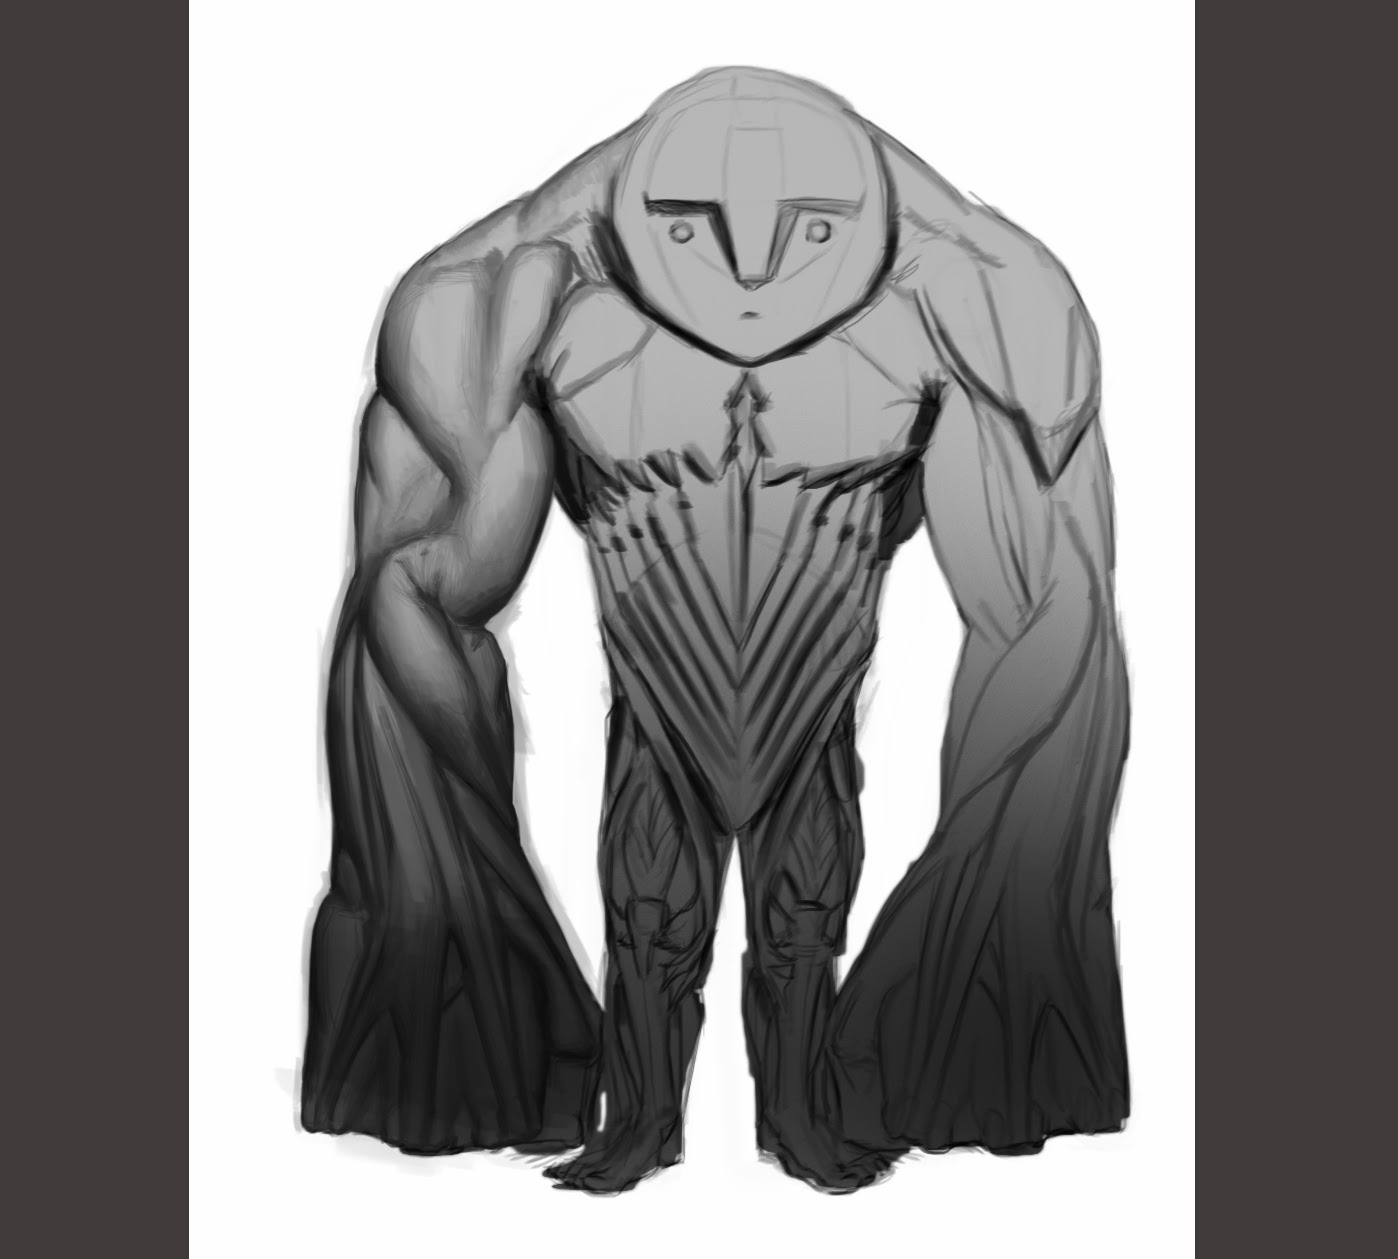
| Once I am happy with the proportions, I design a skeleton. Please note that the shapes of the bones are determined by my earlier decisions from steps 1 and 2. |
 |
| Next, I add some muscles to the arms. |
 |
| I cleaned up the drawing a little while adding more anatomical details like tendons and such. |
 |
| Here I did another pass to make it a little cleaner. |
 |
| I make a mask to isolate Snowboot from the background. This comes in handy later in the game! |
 |
| With a large soft bush with a flow set to 10%, I lightly apply a shading gradient to start a fall of light. |
 |
| I drop the background value a couple steps. With a soft brush brighten some areas at the top. Now I am ready to model each form in its proper level of illumination. This setup keeps me from over modelling, where every form is equally distinct. Over modelling has a grotesque look so I want to try to avoid it. |
 |
| Next I begin to model the forms. I do it with indirect lighting at first. That is, all receding planes get darker. |
 |
| Next I change the contrast and mirror the arm over. |
 |
| Here I started with the torso, I added a shadow from a top light. |
 |
| I added some Lighter values on the shoulders and some glow around the head. |
 |
| I created a new mask. Its red so i can see it better. |
 |
| I change the colors to where I would like to start working. A dull cyan color. |
 |
| I shift the darker values to greenish yellow so there is some variety. I also started working ton the eyes. |
 |
| Add some contrast. |
 |
| Added more light at the top for a better effect. things get messy when I do this. |
 |
| Added highlights and more refined forms. |
 |
| Knocked the contrast back in the legs so the arms come forward. |
 |
| Added darker half tones |
 |
| Harmonizd lighting and colors. I also added cast shadow for the brows. Finished! |
 |
| I start with a napkin sketch of a head. I did not have to put much effort into it as I am already familiar with the proportions. I only did one. |
 |
| I add in some line work in order to see the forms better. |
 |
| Next I place the eyes and hair schematics. |
 |
| Here, I add the hood and More hair. |
 |
| I throw some quick values down to keep the big picture alive. |
 |
| Working with the big picture in mind, I quickly refine my shapes and values. |
 |
| I continue to refine. |
 |
| Refine,refine, refine |
 |
| I add textures and refine tiny shapes. Done! |


